This section explains how to replace the chassis on Quiver Arrow nodes. Procedure currently covers C-192T, C-432T, and K-432T platforms.
- The C-192T, C-432T, and K-432T platforms reached their End of Availability on May 9, 2025. End of Platform Support (EoPS) is May 9, 2030.
- We strongly recommend having another person help you with this process.
Step 1: Prepare for Chassis Replacement
-
To shut down the node, use the power button at the front of the node.
Alternatively, connect to the node by using SSH and run the
sudo shutdown -h nowcommand. -
Disconnect all cables from the back of the node.
-
To pull the node out from the rack, release the small, white tabs on the rails that hold the chassis in place.
-
Place the node on a flat surface.
-
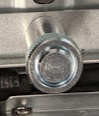
To release the lid, remove the small screw on the upper-right side of the node (viewed from the rear).
-
Press the large PUSH button on each side of the chassis frame.
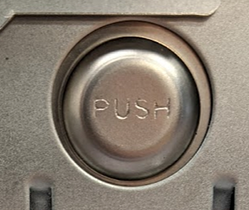
The inner components of the node are exposed.
Step 2: Replace the M.2 Boot Drive, NVMe SSDs, and HDDs
-
Remove the internal M.2 boot drive and then transfer it into the replacement chassis Qumulo provided to you.
-
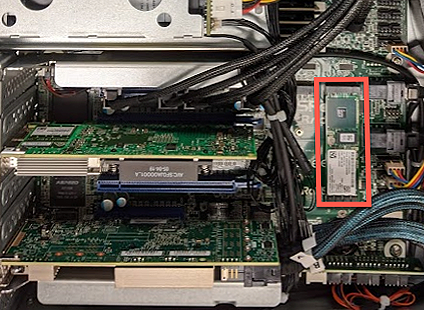
Remove the rear NVMe SSDs and then transfer them into the replacement chassis. For the drive-bay mapping, see Rear NVMe Drives.
Note
To allow the front HDD trays to slide open, remove any shipping screws from the replacement chassis.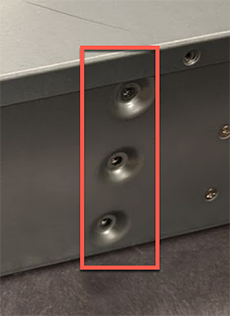
-
Install the replacement chassis in an appropriate location in your server rack.
-
Starting with the top drawer, transfer the HDDs from each tray in the original chassis into a corresponding bay in the replacement chassis.
Important
Work on one drawer at a time. If you apply 2 kg (or more) of downward force to a drawer, it might deform while opened.-
To open the HDD drawer, use the blue lever at the front of the node.
-
To remove an HDD from the original chassis, gently lift up the drive tray knob. This lets the drive move forward and unlatch.
-
To insert an HDD into the replacement chassis, gently slide the drive tray knob backwards. This latches the drive and knob in place.
-
Reconnect the cables to the HDDs, making sure that you reseat both ends of the cable.
Note
- The HDD carriers in the top and middle trays connect to an HBA controller card at the rear of the chassis.
- The HDD carriers in the the bottom tray connect directly to the motherboard at the rear of the chassis.
-
-
Reconnect the power and networking cables to the node.
-
Power on the node.
Step 3: Verify the Node Has Rejoined the Cluster
-
Log in to the Qumulo Web UI.
-
Verify that the node has rejoined the cluster and no red banner appears at the top of the page. The reprotect process might have started automatically.
-
If the node was previously recused from the cluster, reintroduce it by running:
/opt/qumulo/sbin/reintroduce_node.sh
Step 4: Reconfigure Out-of-Band Management (IPMI)
If the current IPMI settings for your node are configured statically (rather than by using DHCP), you must reapply the static IPMI settings to the replacement node. For more information, see Configuring Out-of-Band Management.