This section describes how to use the outside and inside rails of Supermicro 1114S nodes and how to rack nodes in a data center.
The Supermicro A+ WIO 1114S-WN10RT platform has reached its End of Life (EoL) on April 18, 2025. For more information about End of Platform Support (EoPS), contact Supermicro support.
To Attach the Outer and Inner Rails
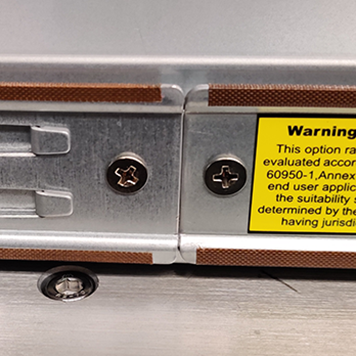
- Because the left and right rails of your nodes are identical, the words FRONT and BACK might appear upside down.
- Each outer rail comes as two connected pieces and attaches to your server rack.
- Each inner rail comes as two separate pieces and attaches to the node chassis.
-
Adjust the outer rails to the length of your server rack.
-
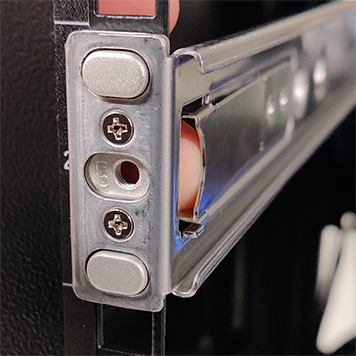
Line up the edge of the outer rail between the rack unit (RU) markers, insert the tabs on the edge of the rail into the mounting holes, and push the rail into the rack until the quick-release clicks into place. This process is the same for the front and back of your rack.

-
Snap the inner rails to the chassis and secure them by using two screws on each side, near the middle of the chassis.
Note
First attach the front inner rails, then the back inner rails.
To Insert the Chassis
-
Align the outer and inner rails and insert the chassis into the server rack.
-
Attach the chassis to the rack by using one screw on each side, on the front of the chassis.
To Remove the Chassis
-
Disconnect any cables from the chassis.
-
Remove one screw from each side of the front of the chassis.
-
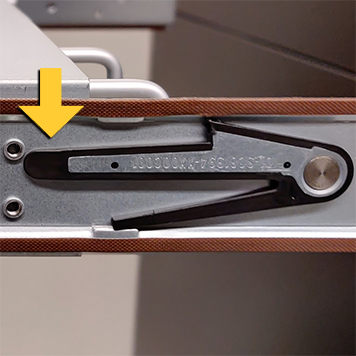
Pull the chassis out from the server rack partially. When the first set of black snaps appears, pinch the long piece of the snap towards the short one (up on one side, down on the other).

-
Continue to pull the chassis from the server rack. When the second set of black snaps appears, pinch the long piece of each snap towards the short one (up on one side, down on the other) and remove the chassis completely.
